

你们想知道京东咚咚如何换头像吗?头像用的时间久了就会腻的,下面来看看京东咚咚换头像的具体操作吧。
1、打开京东咚咚软件,输入账户,点击“登陆“,登陆成功。

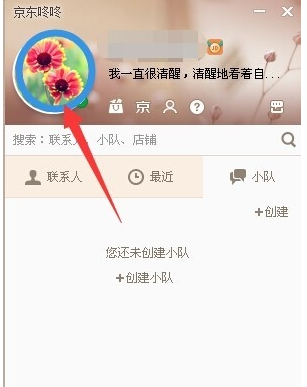
2、在主面板中点击左上角自带“头像“,进入到”个人账户页。
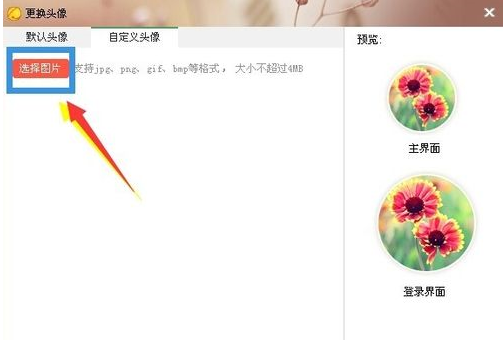
3、在该窗口中,点击“图像”下的“更改头像”超链接。

4、 打开“更改头像”窗口,选择下方的“自定义图像”----“选择图片”。

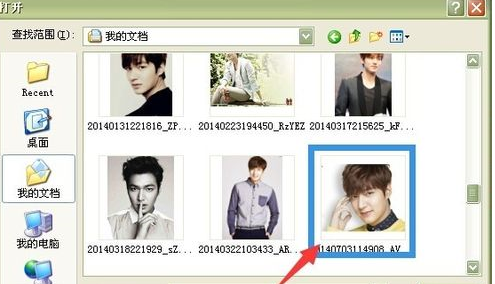
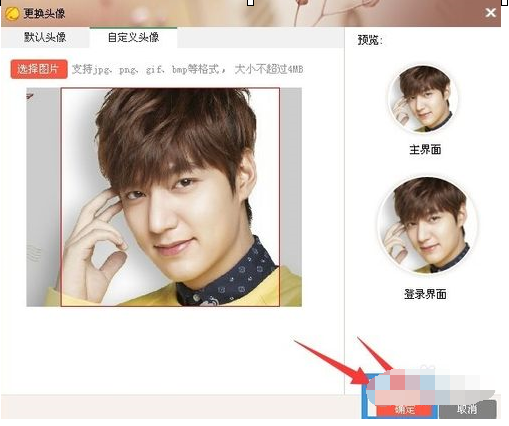
5、打开图片路径,并双击所需设置成头像的图片,直接跳转到头像编辑页。
6、头像周边区域上下左右移动,到合适的位置,后选择“确定”,头像设置成功、
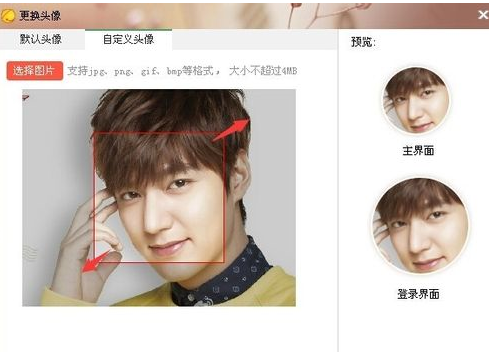
7、返回到主面板中,查看此时头像已更改为自定义噢。

以上就是京东咚咚换头像的具体操作,希望对大家有所帮助。


 微信电脑版
微信电脑版
 腾讯电脑管家
 火绒安全软件
 向日葵远程控制软件
") 魔兽大脚插件(bigfoot)
魔兽大脚插件(bigfoot)
") 自然人电子税务局(扣缴端)
自然人电子税务局(扣缴端)
 桌面百度
桌面百度
 CF活动助手