

本章节讲解了与photoshop相关的内容,下文就是photoshop实行添加滤镜的详细方法。有兴趣额度一起去学习下吧。
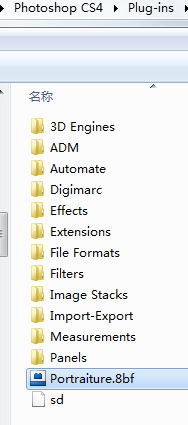
首先,现在网上下载一个滤镜,滤镜的格式一般是8bf格式。有的网站把滤镜进行了压缩。下载下来之后解压得到如下图所示文件。
找到photoshop的安装路径。右键点击photoshop图标。点击属性。
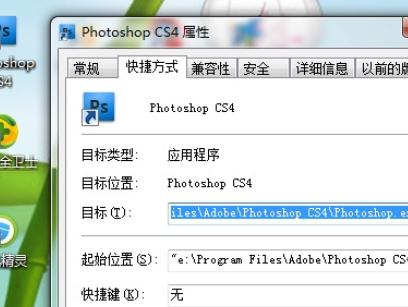
点击打开文件位置,出现了photoshop的安装路径。会看到有一个叫Plug-ins的文件夹。
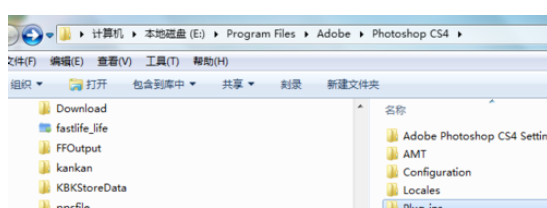
打开Plug-ins文件夹,把刚从网上下载的滤镜文件,放到该文件夹。
启动photoshop,点击滤镜。imageomic就会看到该滤镜了。

上文就是photoshop实行添加滤镜的详细方法,你们都学会了吗?


 微信电脑版
微信电脑版
 腾讯电脑管家
 火绒安全软件
 向日葵远程控制软件
") 魔兽大脚插件(bigfoot)
魔兽大脚插件(bigfoot)
") 自然人电子税务局(扣缴端)
自然人电子税务局(扣缴端)
 桌面百度
桌面百度
 CF活动助手