

那你们晓得Photoshop中有个魔棒工具吗?那么使用魔棒工具怎么抠图呢?下面这篇教程就为你们带来了Photoshop中使用魔棒工具抠图的具体操作方法。

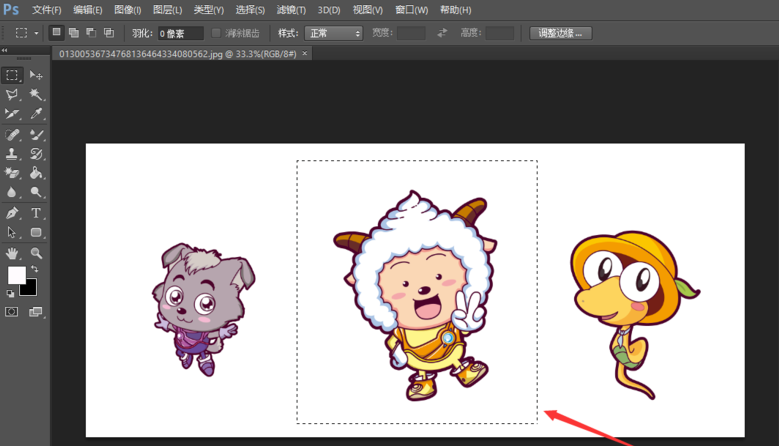
打开Photoshop软件,导入一张图片素材,选择矩形选框,

拖动鼠标,在图片上框选需要抠除的区域,
在左侧工具栏选择魔棒工具,如图,
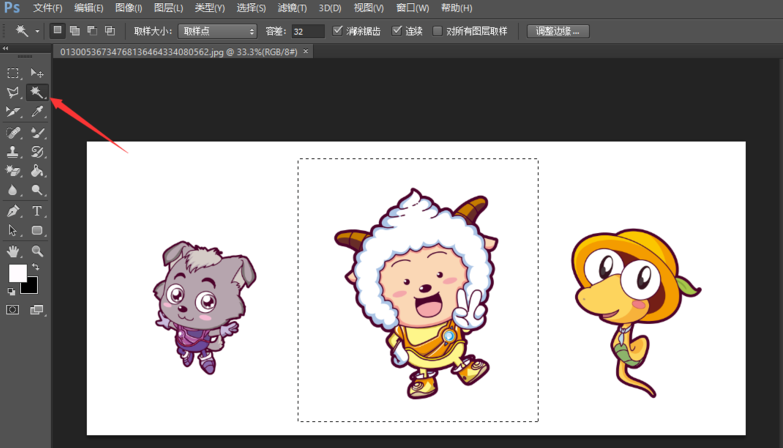
按住alt键,选择框选区域中除了图形以外的颜色,

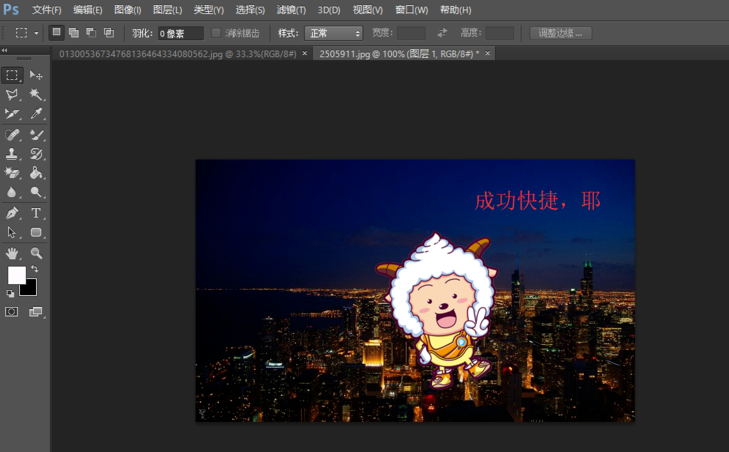
就可以得到你想要的抠选图,然后进行复制,

再打开另外一张图片,复制粘贴图形,成功了。
根据以上为你们描述的Photoshop中使用魔棒工具抠图的具体操作方法,你们是不是都学会啦!


 微信电脑版
微信电脑版
 腾讯电脑管家
 火绒安全软件
 向日葵远程控制软件
") 魔兽大脚插件(bigfoot)
魔兽大脚插件(bigfoot)
") 自然人电子税务局(扣缴端)
自然人电子税务局(扣缴端)
 桌面百度
桌面百度
 CF活动助手